
How I Used AI to Design My Child's Bedroom (And Actually Stuck to Budget)
My child's bedroom looked like a toy explosion. The walls were three different paint colours from three different phases of renovation. Nothing matched. I kept saying "I'll redesign it someday" and then scrolling Pinterest for four hours and abandoning the whole idea.
Then I tried using AI to design it. Genuinely changed everything.
I used Gemini and ChatGPT's image generation tools to mock up exactly what the room would look like with different colour schemes, furniture arrangements, and styles. I could see the plan before spending a single dollar. I made decisions faster. And I actually stuck to a budget because I could visualise what mattered and what I could skip.
Here's exactly what I did.
The Problem: Too Many Ideas, No Clarity, No Budget
Before this, my process was: - Spend three hours on Pinterest finding inspiration - Pin 400 different bedroom ideas - Realise they're all different styles - Feel overwhelmed - Do nothing for six months
The real problem wasn't lack of ideas—it was lack of clarity. I had a budget (let's say $2,000 for paint, furniture, and decor). I had vague preferences (something calm, maybe natural colours, nothing too babyish but still age-appropriate). I had contradictions (I like minimalism but also want a personality in the room).
Trying to hold all of that in my head while shopping was impossible.
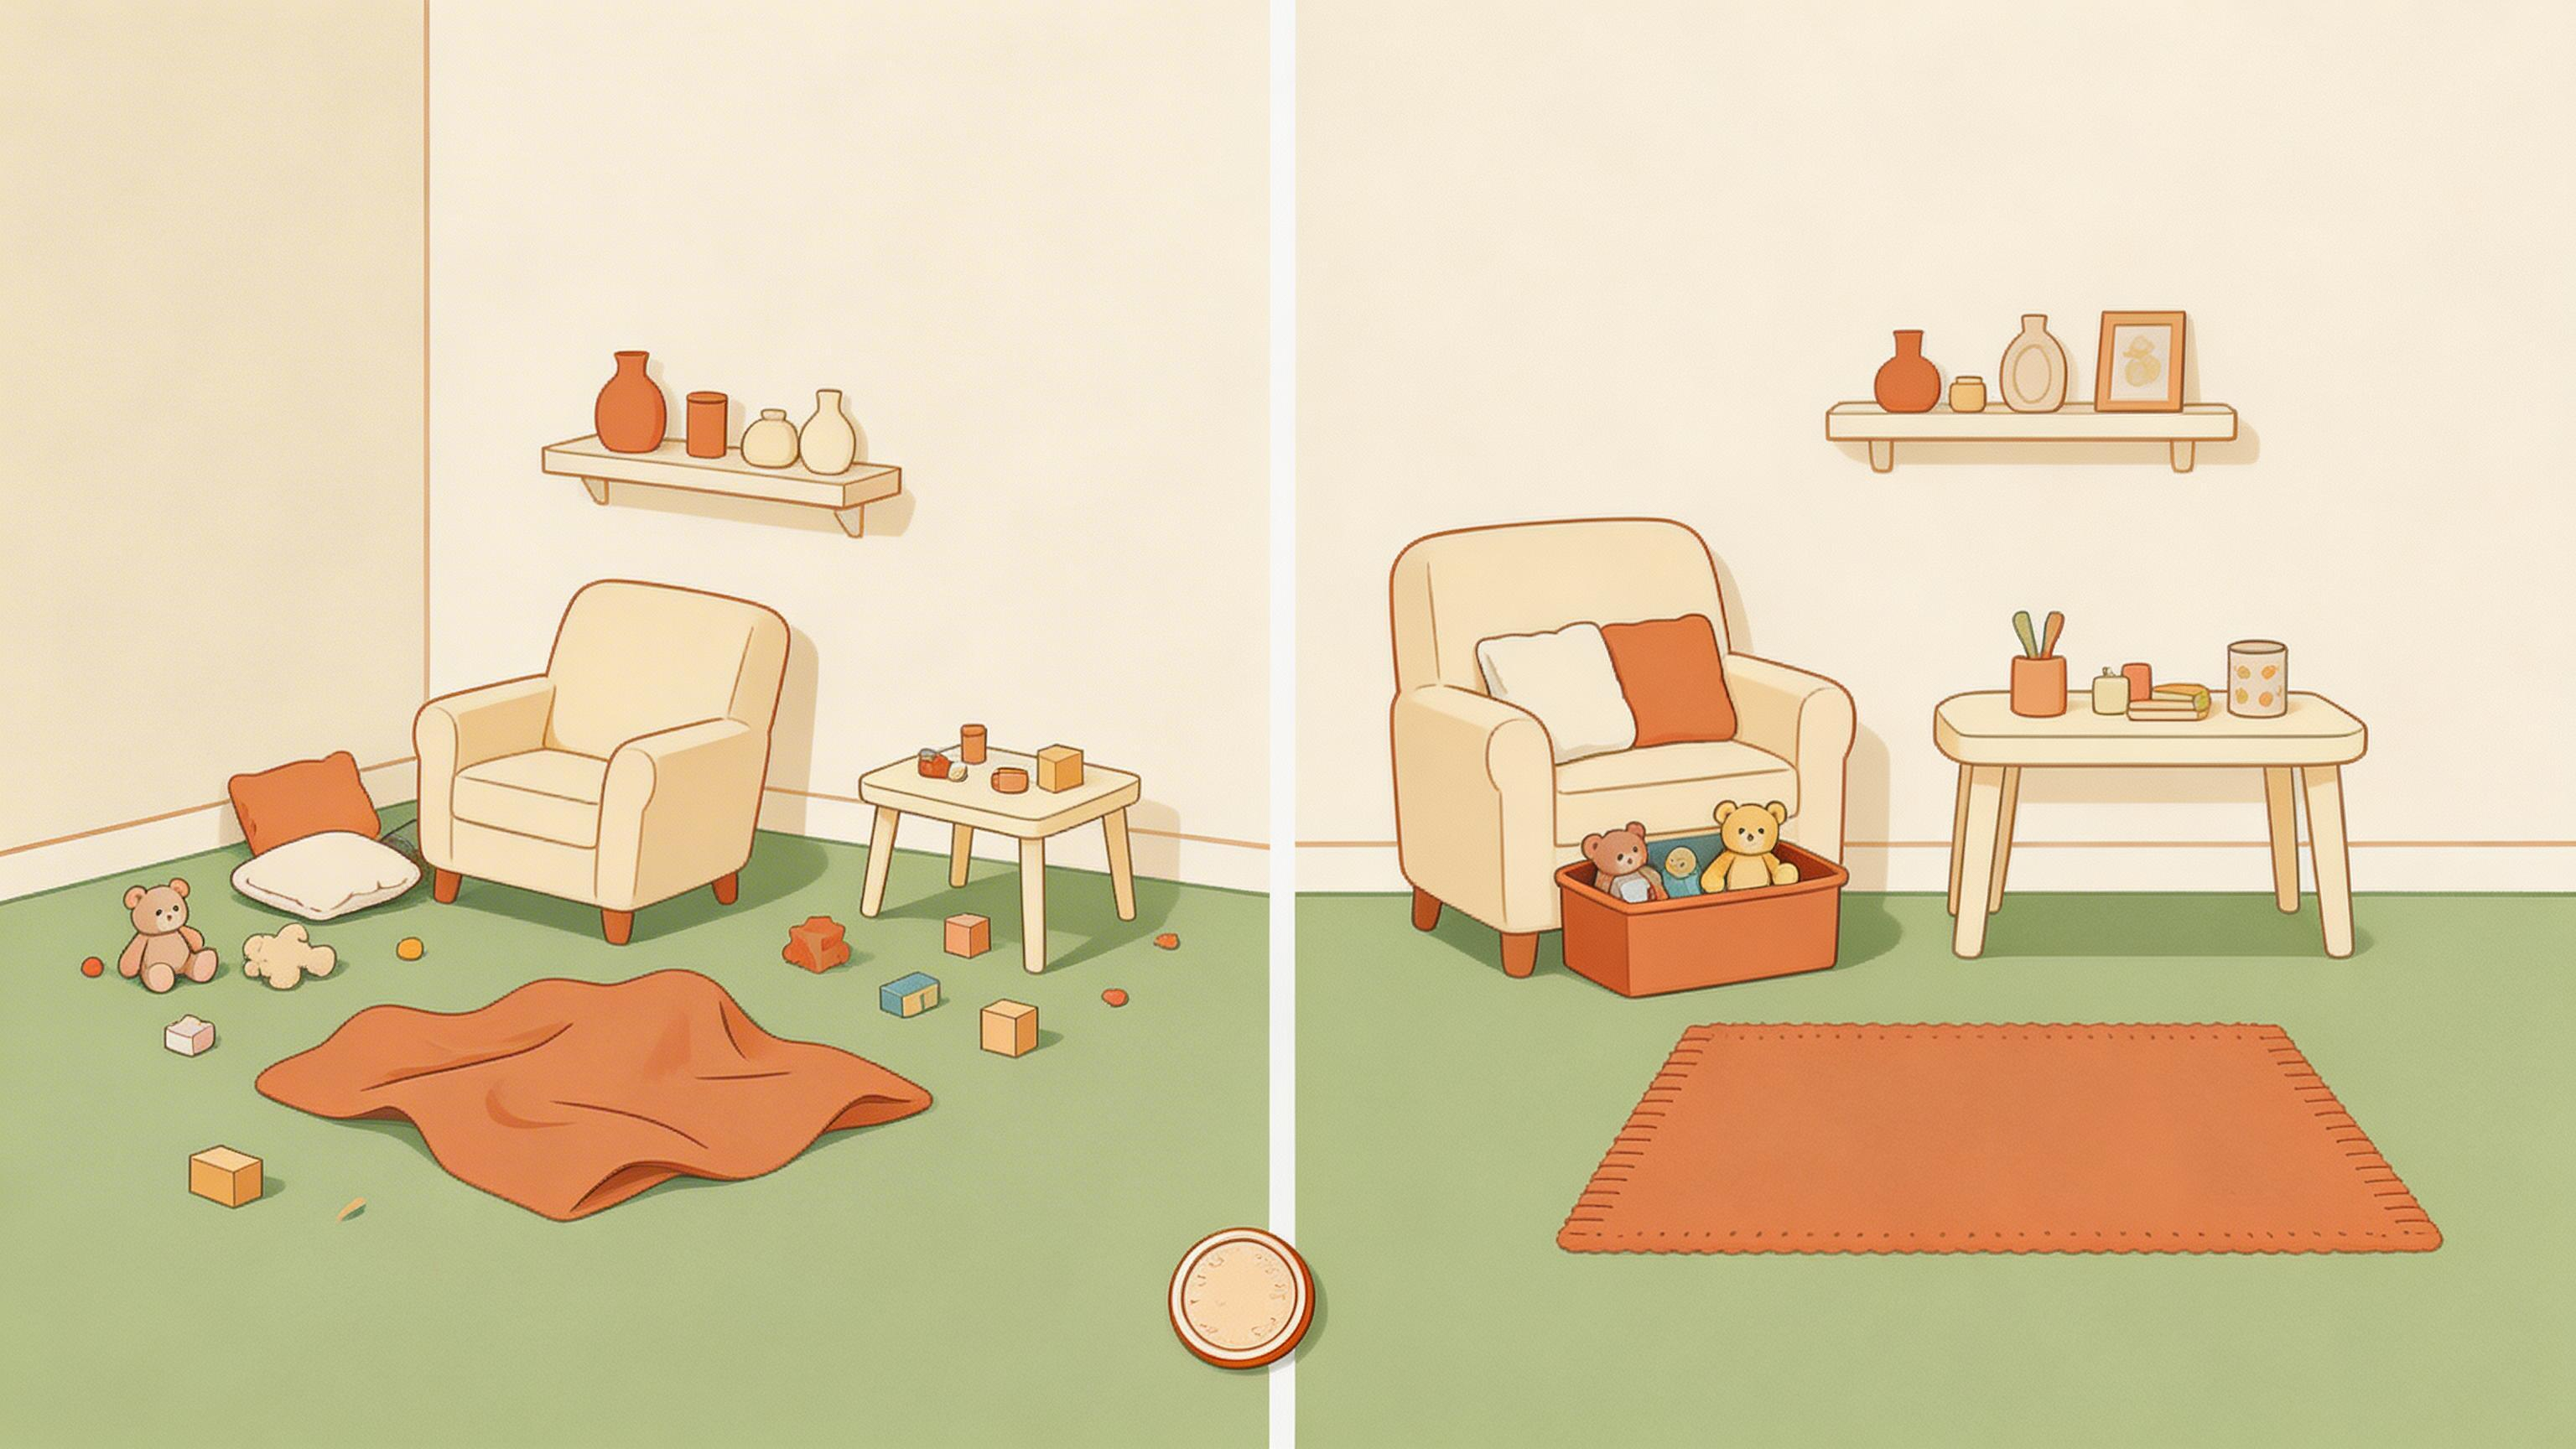
Step 1: Describe the Room to an AI (This Is the Hard Part)
I started with ChatGPT (or Claude—any AI chatbot works). I described: - The room's current state: size, natural light, existing furniture - My child's personality: into sports, quiet activities, needs a study corner - My style preference: calming, natural materials, nothing too trendy - The budget: $2,000 total - The constraints: rental flat, so limited on paint colours and permanent changes
Then I asked: "Based on this, what style would actually work?"
The chatbot gave me three solid options: Scandinavian minimal (lots of natural light and simplicity), warm cottage (natural wood, soft colours), or modern calm (clean lines, muted palette).
This alone was useful. It narrowed my decision from "infinite Pinterest ideas" to three coherent directions.
Step 2: Generate Visual Mockups (This Is Where It Gets Good)
I picked warm cottage first. Then I used Gemini or ChatGPT's image tools to generate mockups.
My prompt: "A 10-year-old's bedroom. Warm cottage style. Soft sage green walls. Wooden bed frame (light wood). Cream bedding. A wooden desk in the corner. Natural light from a window. Simple wooden shelving. Minimal decor. Calming. Photograph-style, warm lighting, realistic."
The AI generated four images. They weren't photo-perfect, but they were clear enough for me to see: "Oh, I actually like how sage green feels with light wood" or "Actually, this feels too busy for my child."
I generated mockups for three different colour schemes: - Sage green + light wood + cream - Soft grey-blue + natural wood + warm white - Warm white + light oak + touches of warm terracotta
Generating each took two minutes. Seeing them side-by-side made the decision obvious. My child looked at them and immediately preferred sage green.
Step 3: Plan the Actual Purchases (Budget Clarity Happens Here)
Once I had a clear direction, I asked ChatGPT for a shopping list that fit my $2,000 budget: - Paint (2 walls): $150 - Bed frame (light wood, upgrade from existing): $600 - Bedding set: $150 - Desk (simple, natural wood): $400 - Shelving (floating shelves): $200 - Decor (art, plants, small items): $300 - Buffer: $200
Suddenly I could see: I have $600 for the bed. I'm not spending $1,200. I have $400 for a desk. I'm not window shopping endlessly.
The budget wasn't arbitrary anymore—it was connected to a visual plan I actually wanted.
Step 4: Reality-Check Against Actual Shops
Here's where AI stops and real-world research starts. I took my design and went to: - IKEA website (searching by colour and style) - Local furniture shops - Online retailers that deliver to Singapore
I found pieces that matched my AI mockup. IKEA had a desk that was close. Scandi Living (online) had bedding in the right palette. A local woodworker quoted me for custom floating shelves.
The AI didn't buy anything for me. But it gave me criteria: light wood, simple lines, warm tones, no pattern clashing. This made actual shopping way faster. I wasn't second-guessing myself in the shop. I had a visual reference.
Step 5: Visualise the Final Arrangement (Before Committing to Furniture)
Once I'd picked actual pieces, I asked Gemini to generate one more mockup using the specific items I'd chosen: - Uploaded a photo of the actual desk and bed I was considering - Described the paint colour I'd bought - Asked for a realistic render: "Show this exact desk and bed in this exact room with sage green walls, natural light from the window."
This last step was crucial. It prevented buyer's remorse. I could see the exact items in the exact room before I brought them home.
Real talk: It wasn't perfectly accurate. AI doesn't nail every detail. But it was close enough that when the furniture arrived, I felt prepared instead of panicked.
What AI Actually Helped With
- Speed: Instead of six hours on Pinterest, I had three clear directions in 30 minutes.
- Visualisation: Instead of imagining sage green walls (which is hard), I saw them.
- Confidence: I wasn't guessing. I had a reference.
- Budget discipline: A clear plan meant clear spending decisions.
- Involving my child: Showing them mockups made them part of the decision. They actually cared about the final result.
What AI Couldn't Do
- Measure the room. I had to measure walls and furniture myself. AI generated things that looked right but might not fit.
- Understand existing light. The room has afternoon sun from the west. AI doesn't know this. I had to adjust expectations about how colours would actually look.
- Shop for me. I still had to search IKEA, compare prices, and make final decisions.
- Handle the unexpected. I wanted to add a reading nook. AI had suggested one, but the actual corner got afternoon sun, which wasn't ideal. I had to adapt.
What Happened Next
I painted two walls sage green ($150, DIY). Bought the bed and desk from IKEA and a local shop ($1,000 total). Added bedding, floating shelves, and a few pieces of art ($600). Stayed on budget.
The room still isn't perfectly styled. There are areas I'd change. But it's coherent. It feels intentional. My child actually uses the desk now instead of pushing it aside.
And I have visual proof that the design works, so when I want to tweak something (swap out art, change a chair), I can generate a new mockup and test it first.
If You Want to Try This
Here's the actual process:
- Describe your room and your child to ChatGPT or Claude (any AI chatbot works).
- Ask for style recommendations based on your budget and constraints.
- Pick a direction. Generate images with Gemini or ChatGPT's image tools. Be specific: walls, furniture, light, style.
- Compare options. Generate three versions (different colours, different arrangements). Side-by-side matters.
- Make a budget allocation with ChatGPT. Ask: "Given $X budget and this style, where should I spend most?"
- Shop in real stores with your AI mockup as a reference.
- Generate one final mockup with your actual chosen items before buying.
- Execute. Paint, buy, arrange, adjust.
The whole process took me about 4 hours. (Actual shopping and painting took longer, but planning was fast.)
The Real Benefit
The real benefit isn't that AI designs the room. It's that you design faster because you can see what you're designing instead of imagining it.
You make better decisions because you're comparing actual options instead of scrolling endlessly. You stick to budget because you're not impulse-buying decor that looked good in isolation but doesn't fit the plan.
And your child feels involved because they see the mockups and can actually choose between them instead of just accepting what you decide.
That's the opposite of how Pinterest planning usually goes.
Related reading
- sweaty kid sleep in Singapore (cross-pillar)
- best fabrics for kids pyjamas (cross-pillar)
- AI safety for kids (same-pillar)